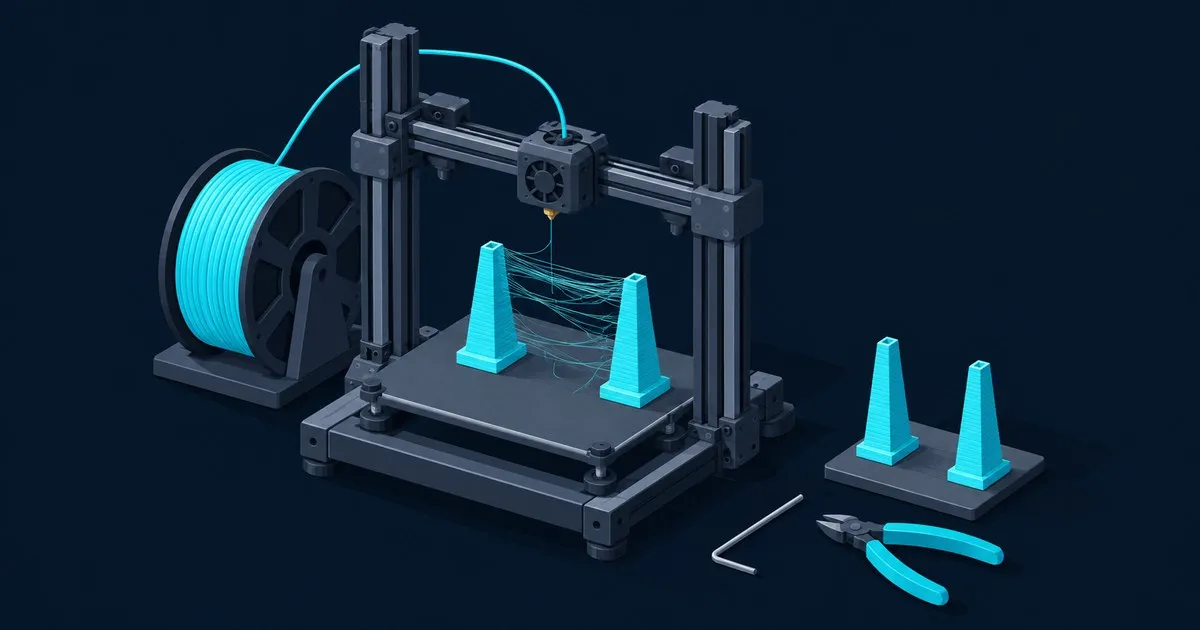
To stop FDM print stringing, work in this order: dry the spool, lower the nozzle 5 to 10 °C, print a retraction tower and keep the shortest clean length (usually 0.5 to 2 mm on direct drive, several millimeters on Bowden), then leave wipe and retract-on-layer-change enabled. If you searched “fdm print stringing how to stop,” that sequence is the answer: material first, heat second, motion last.
Order matters because retraction is the setting everyone grabs first and the one most often over-tuned. Extra length that covers for a wet spool or a hot nozzle bakes a workaround into the profile, and long retraction on direct drive drags molten plastic toward the heat break, which is how stringing turns into a clog.
Is it stringing or something else?
It is stringing if thin threads span gaps the nozzle crossed on a travel move: between two towers, across the counter of a letter, from one island to the next. Open the slicer preview; if the threads follow travel paths, this guide applies. Blobs, seam zits, and a drip before layer one are different defects with different fixes.
Strings plus popping, bubbles, or a pitted surface point to moisture; strings that began after hotend work point to assembly; fine, uniform hairs on a clean part point to temperature and retraction. Our oozing vs stringing guide has the full symptom table.
Why does an FDM printer string?
A printer strings because the melt zone still holds pressure and runny plastic when extrusion stops and the head travels. Plastic weeps from the nozzle, touches the part, and stretches into a thread as the head moves away. Anything that raises nozzle pressure, thins the melt, or lengthens time over open air makes it worse.
Each cause maps to a fix. Moisture flashes to steam and pushes plastic out when the nozzle should be idle. Excess heat lowers viscosity; Simplify3D’s print-quality guide ranks temperature second only to retraction as a cause. Retraction relieves pressure before the move, and travel strategy decides how much open space the nozzle crosses.
Step 1: Dry the filament before touching the profile
Drying is the elimination test that stops you blaming the slicer or “bad filament” on a hunch. Prusa’s drying guide lists stringing, blobs, bubbling, and weak layer adhesion as moisture symptoms and gives these targets for Prusament:
| Material | Drying temp | Time |
|---|---|---|
| PLA | 45 °C | 6 h |
| PETG | 55 °C | 6 h |
| TPU | 60 °C | 4 to 6 h |
| ASA | 80 °C | 4 h |
Use the spool maker’s figure if it differs. Print a small stringing test before drying and the identical file after, profile untouched. If most strings vanish, moisture was the lead cause and the long-term fix is storage, not settings. Our filament dryer comparison covers heater power and temperature ceilings.
Step 2: Drop the nozzle temperature 5 to 10 °C
Lower the nozzle 5 °C, reprint, and drop another 5 °C if strings remain. Prusa’s stringing guide and Simplify3D both give 5 to 10 °C as the starting move, because a cooler melt is more viscous and weeps less during travel.
For reference, Prusa’s PLA guide specifies 215 °C for the first layer and 210 °C after, and its PETG guide specifies 230 °C and 240 °C. If dried Prusament PLA strings at 210 °C, try 205 °C, then 200 °C. For PETG, Prusa says stringing “can be moderated with higher retractions and lower nozzle temperature,” and stresses that PETG needs part cooling.
The part sets the floor, not the strings. OrcaSlicer’s temperature calibration page notes that lower temperatures reduce stringing while higher ones improve layer adhesion, and suggests the midpoint of the acceptable range, or the upper end for fast printing. Reject any band that sags on bridges or splits between layers when flexed. Our temperature tower and flow calibration guide covers reading the tower.
Step 3: Tune retraction with a tower, not by guessing
Use the shortest retraction length that prints clean. Simplify3D puts direct-drive extruders at 0.5 to 2.0 mm and reports Bowden setups as high as 15 mm because of the long tube between drive gear and nozzle. Prusa’s Bowden MINI presets default to 3.2 mm.
OrcaSlicer’s retraction test generates the tower:
- Direct drive: 0 to 2 mm in 0.1 mm steps (the default)
- Bowden: 1 to 6 mm in 0.2 mm steps
Print it at the temperature from Step 2. Find the lowest clean band, measure its height, and read the value by searching the G-code preview for the Calib_Retraction_tower comment. Orca warns that the plain ; retract lines do not necessarily reflect the real length, since wipe also moves filament. For low-ooze materials like PLA and ABS, Orca says 0.2 to 0.4 mm should suffice.
Speed matters less than length. Simplify3D gives 20 to 100 mm/s as the working window: too slow and plastic leaks before the pull finishes, too fast and the gear can grind the filament, or, per Prusa, the motor skips steps. Bambu Studio’s stock X1 Carbon 0.4 mm profile ships 0.8 mm at 30 mm/s.
Pressure advance (Klipper) or linear advance (Marlin) leaves less pressure in the nozzle at the end of each line, so a calibrated printer usually needs less retraction. Teaching Tech’s calibration guide shows a tower cleaning up at 0.4 to 0.6 mm and calls that consistent with linear advance being enabled. Our Orca Slicer calibration order runs retraction after both temperature and pressure advance.
Step 4: Fix travel, wipe and Z-hop
With length set, leftover strings come from how the nozzle travels. PrusaSlicer, OrcaSlicer and Bambu Studio all expose these, under slightly different names:
- Wipe while retracting: on. Prusa recommends leaving it enabled; the nozzle retraces the last extrusion while pulling back, so residual ooze lands on the wall instead of across a gap. Bambu’s X1 Carbon profile uses a 2 mm wipe distance.
- Retract on layer change: on. Also Prusa’s recommendation.
- Avoid crossing perimeters (walls): on. Travel stays inside the part instead of crossing open air, per Simplify3D. It costs some print time.
- Minimum travel after retraction: 1 mm. That is PrusaSlicer’s and Bambu’s default. Prusa notes that raising it saves time but increases stringing.
- Z-hop: as low as the part allows. Prusa says lower lift reduces stringing, but removing it risks the nozzle striking the print. Bambu’s X1 Carbon profile uses 0.4 mm.
- Travel speed: high. Simplify3D recommends faster X/Y travel so the nozzle spends less time over gaps.
Starting values for two common setups
| Setting | Bambu Lab X1 Carbon, 0.4 mm, Prusament PLA | Original Prusa MINI+ (Bowden), Prusament PETG |
|---|---|---|
| Drying | 45 °C, 6 h | 55 °C, 6 h |
| Nozzle | 210 °C, then 205 °C and 200 °C if strings persist | 240 °C, then 235 °C and 230 °C |
| Retraction start | 0.8 mm at 30 mm/s (stock) | 3.2 mm (stock) |
| Tower range | 0 to 2 mm, 0.1 mm steps | 1 to 6 mm, 0.2 mm steps |
| Wipe / Z-hop / min travel | 2 mm / 0.4 mm / 1 mm | Wipe on, lift as low as safe, 1 mm |
| Cooling | Normal PLA cooling | Part fan on after the first layers |
Change one row at a time and reprint the same test file between changes. Changing temperature and retraction together tells you nothing about which one worked.
How to verify the fix
Print two square pillars, 10 mm on a side and 40 mm tall, spaced 30 mm apart at 0.20 mm layer height. That geometry forces a travel over open air on every layer. Success criteria:
- No threads between the pillars, or only a few wisps that brush off with a fingernail and leave no bumps.
- No gaps or thin spots where each pillar’s wall restarts after a travel. Gaps there mean retraction is too long for the extruder to recover; step back 0.1 to 0.2 mm.
- No clicking during the print and no chewed filament at the drive gear afterward.
- The same clean result from a second spool of the same material.
Then print the real part. If the winning value is material specific, save it as a per-filament retraction override rather than changing the printer profile. For stray wisps, Prusa suggests a heat gun at around 200 °C for one or two seconds.
When the four steps do not fix it
If a dried spool at a tuned temperature and retraction still strings, run one more elimination: load a spool of known-good PLA with the same profile. Clean results mean the problem lives in the other material or spool. Strings on both mean the printer is the variable.
Then check hardware. A partial clog makes flow inconsistent; clear it with a cold pull. Prusa also points to hotend assembly, including thermal paste between heatbreak and heatsink. Our printer maintenance routine schedules nozzle and hotend checks. Some stringing is simply the material: PETG strings more readily than PLA, a trade-off covered in PLA vs PETG vs ASA.
FAQ
why is my petg stringing so much
PETG strings more than PLA because it stays tacky and flows readily at print temperature. Prusa recommends more retraction, a lower nozzle temperature, and active part cooling. Dry the spool at 55 °C for 6 hours first, then drop from 240 °C in 5 °C steps and rerun a retraction tower at the new temperature.
does wet filament cause stringing
Yes, wet filament causes stringing because absorbed moisture flashes to steam in the nozzle and pushes plastic out during travel moves. A spool that printed clean last month can string badly after weeks in open air. Prusa lists stringing, bubbling, and blobs as symptoms; dry PLA at 45 °C for 6 hours and reprint to confirm; the full symptom list is in wet filament symptoms and fixes.
what retraction distance should i use for direct drive
Most direct-drive extruders settle between 0.5 and 2 mm, often under 1 mm. Prusa caps its MK3-family printers at 2 mm, and Bambu Studio’s stock X1 Carbon profile uses 0.8 mm. Print OrcaSlicer’s 0 to 2 mm tower in 0.1 mm steps and keep the shortest band that comes out clean.
can too much retraction cause clogs
Yes, excessive retraction can cause clogs because it pulls molten plastic up into the heat break, where it cools and jams. Fast retraction can also grind filament or skip extruder steps. If strings survive 2 mm on a direct-drive hotend, stop adding length and look at moisture, temperature, and hotend assembly instead.
how do i remove strings from a finished print
Pass a heat gun set to around 200 °C over the strings for one or two seconds, which is Prusa’s suggested method. The thin threads shrink away before the thicker walls soften. Keep the gun moving, because PLA deforms quickly. Heavier strands come off cleaner with flush cutters or a deburring blade.
Related across the network
- Creality K1 Stringing Fix: Retraction, Heat and Drying — crealityreviews.com
- How to Fix Stringing on 3D Prints: Retraction Settings — printlabguide.com


